
This guide takes you from nothing to asking Claude about your GoHighLevel account. You need two things: a GoHighLevel login, and a Claude account that supports custom connectors (Free allows one, and Pro, Max, Team and Enterprise all work). There is nothing to install in GoHighLevel and nothing to download.
Step 1: Create your organisation
Go to the sign-up page and enter your organisation's name, your name, your email and a password. We email you a 6-digit code; enter it and you are in.
Confirming your email starts your 3-day free trial. It covers one sub-account, and you don't need a card to start. Your organisation is where your team, sub-accounts, payments and activity log live.
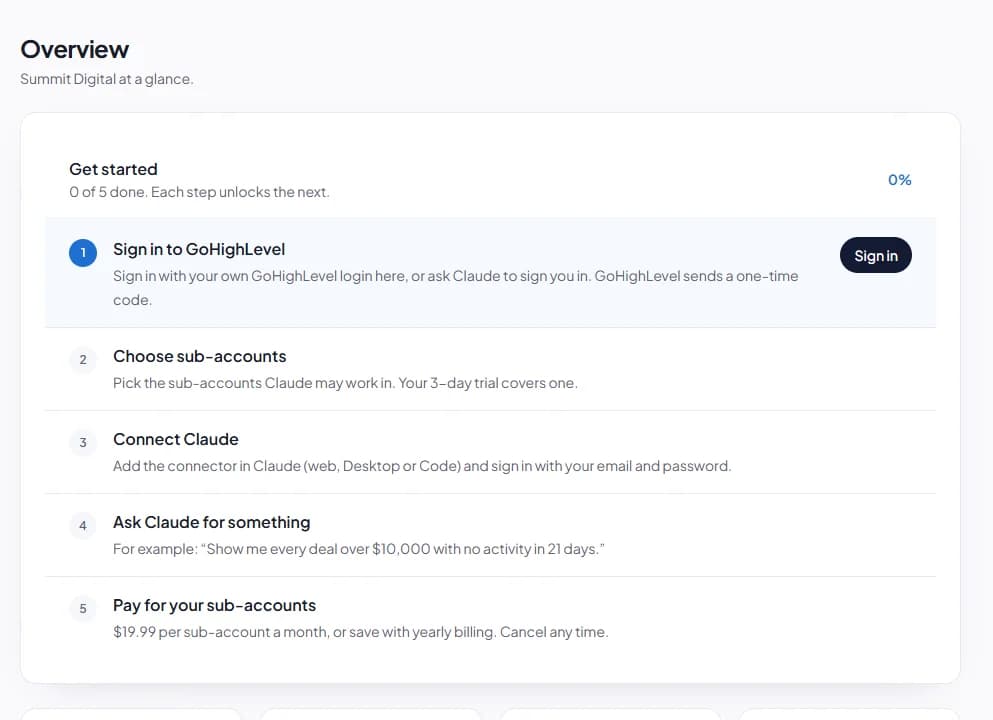
Step 2: Sign in to GoHighLevel
In the panel, open Sub-accounts and click Sign in to GoHighLevel. Enter the email and password you use for GoHighLevel. If your login belongs to more than one agency, choose the one you want. GoHighLevel then emails you a one-time code, exactly as it does when you sign in to the app; type it in and you are signed in.

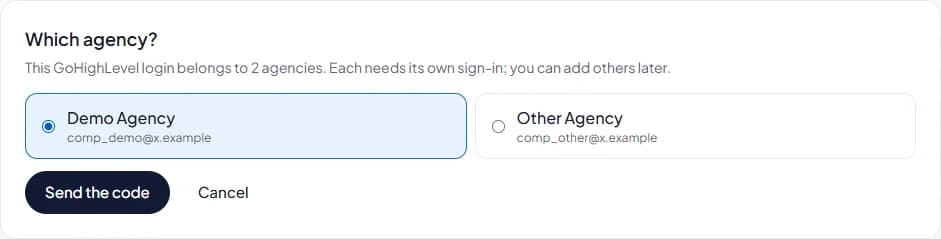

A few things worth knowing:
- Your password is used once and never stored. What we keep is the session GoHighLevel gives back, encrypted.
- The session lasts about 30 days. The Overview warns you before it runs out, and signing in again renews it.
- You can sign in to as many logins and agencies as you like. Each one adds the sub-accounts it can reach.
Step 3: Choose a sub-account
Once you are signed in, every sub-account your login can reach is listed, switched off. Switch on the one Claude should work in first. During the trial, the first sub-account you choose is the one the trial covers, so pick one you'll actually use. Want Claude in every sub-account? Choose all switches them all on at once; the trial still covers only the first.
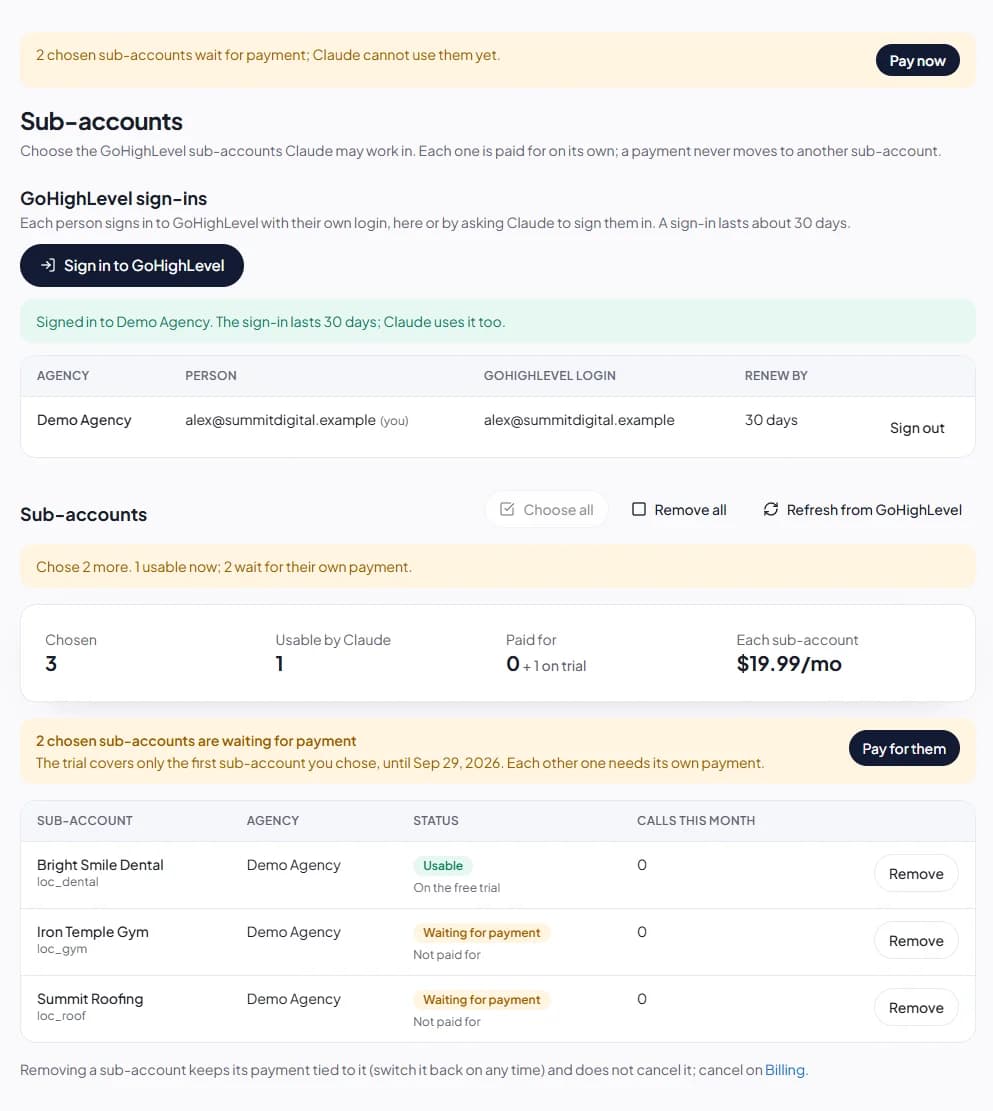
Claude can only ever reach sub-accounts your organisation has chosen. Even if your GoHighLevel login can open fifty client accounts, Claude sees only the ones you switched on.
Step 4: Add the connector to Claude
Your connector URL is on the Connect Claude page in the panel:
https://mcp.mygohighlevelmcp.com/mcp
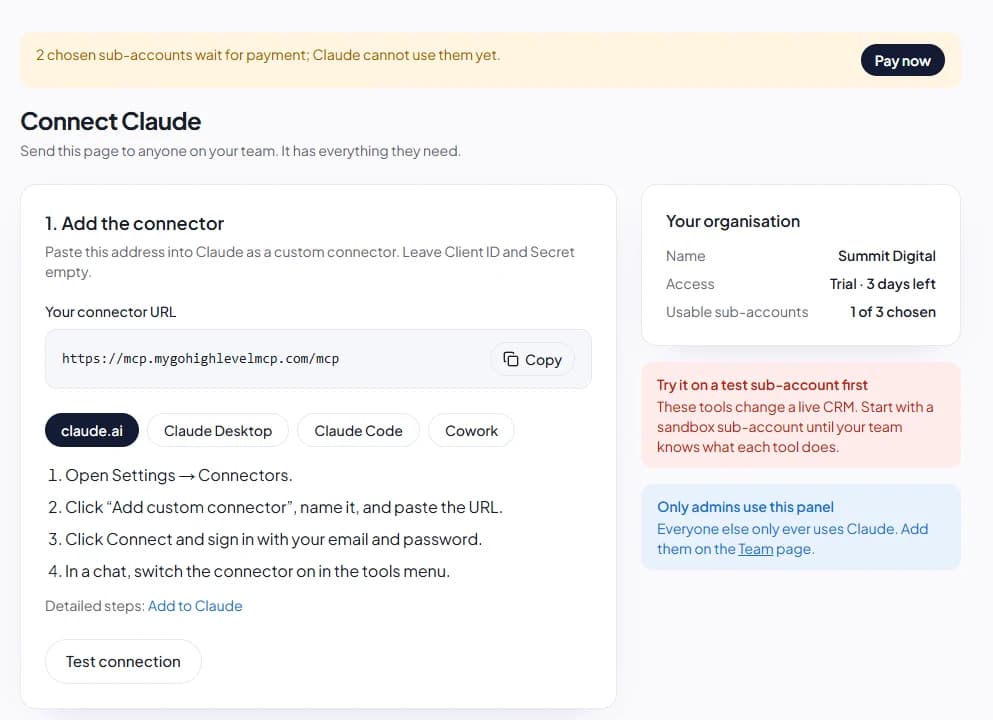
On claude.ai: open Settings, then Connectors, click Add custom connector, give it a name and paste the URL. Click Connect, sign in with your My GoHighLevel MCP email and password, and approve. In a chat, make sure the connector is switched on in the tools menu.
In Claude Desktop: connectors you add on claude.ai appear automatically when you sign in with the same Claude account.
In Claude Code: run the command shown on the Connect Claude page, then run /mcp, choose the server and authenticate in your browser.
Step 5: Ask your first question
Start with something that only reads:
Which sub-accounts can you use, and what's on the calendar there tomorrow?
Then try something small that changes data:
Create a contact form called "Free quote" with name, email, phone and a message box.
Claude tells you what it is going to do, and it asks before sending messages or deleting anything. Everything it does appears in the panel under Activity, with the GoHighLevel endpoints it reached.
Bring your team
Admins can add people under Team. Each person gets a temporary password, chooses their own the first time, and signs in to GoHighLevel with their own login, so Claude can only do what they could. There is no charge per person.
When the trial ends
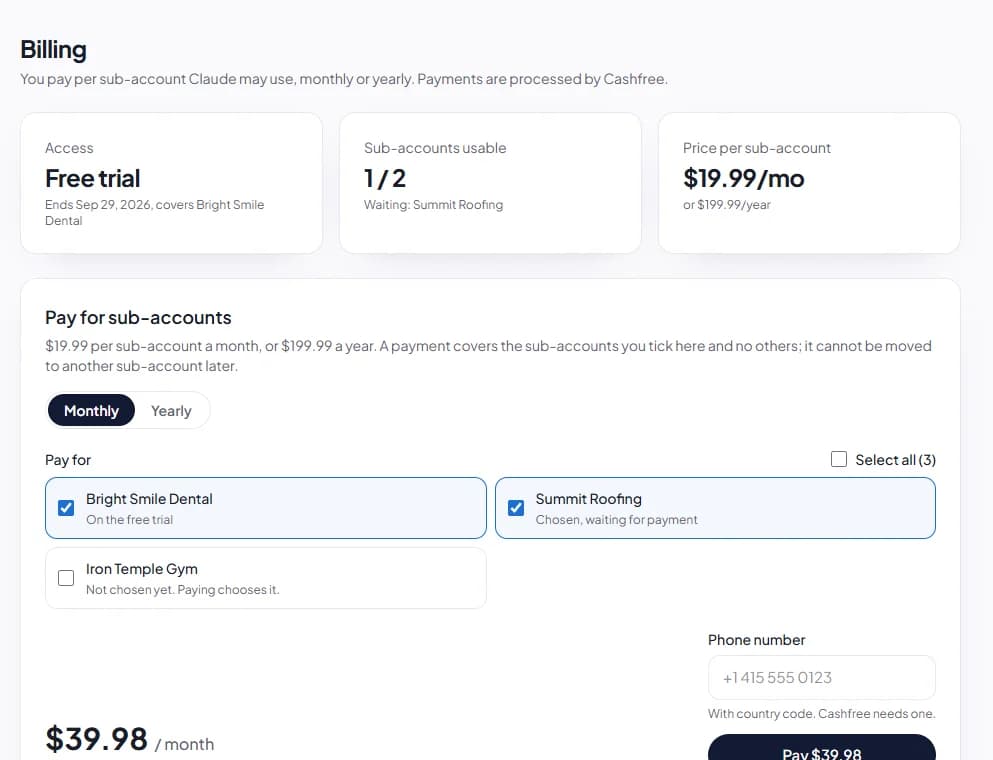
After three days, the trial sub-account stops working for Claude until you pay for it: $19.99 a month or $199.99 a year per sub-account. Nothing in GoHighLevel is changed. You can pay in Billing (tick the sub-accounts, or Select all), or ask Claude for a secure payment link.
Ready? Start your free trial. If you get stuck, the troubleshooting guide covers the common snags.